
Add Guardian - General
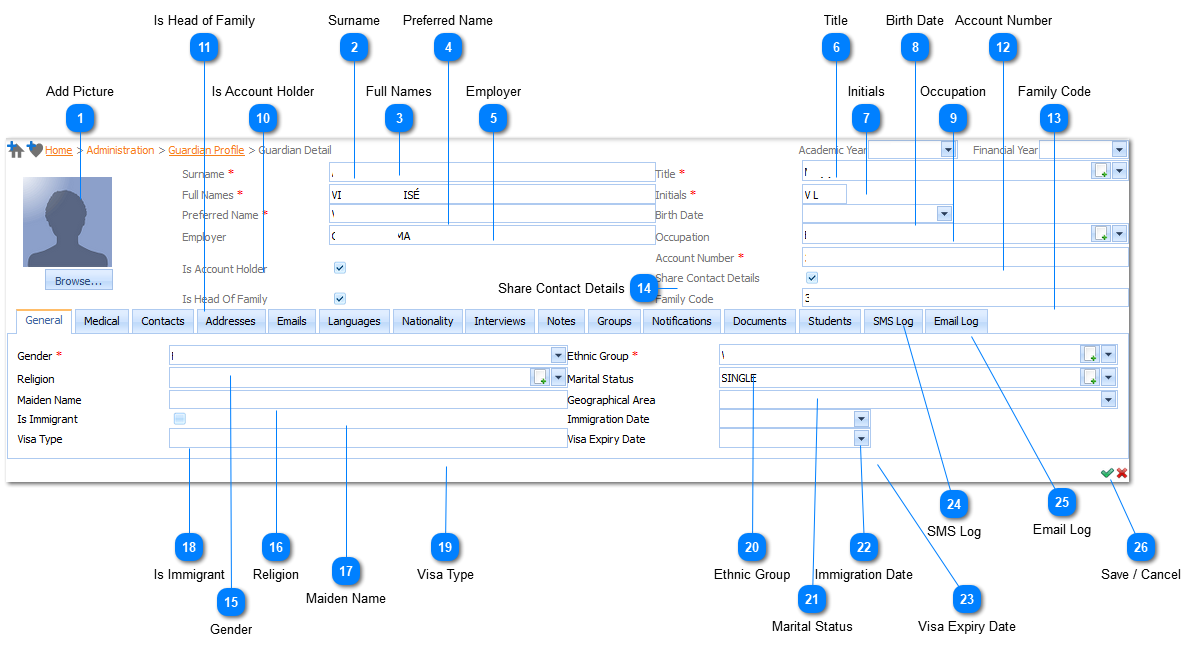
Add Picture
The user can upload a picture of the Guardian. Upload the Image by Left Clicking on the Browse button (Refer to Upload Guardian Image)
(i) *.JPEG
(ii) *.PNG
(iii) *.GIF
(b) The Image file size is limited to a maximum of 1 Mb.
|
Title
The user selects the Title by Left Clicking on the Drop Down List Box (
Example :
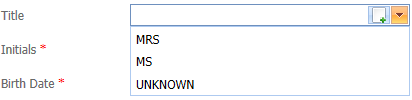
Select the applicable Title by Left Clicking on it in the list. Should the user want to enter a new Title it is done by Left Clicking on the Add Button (
|
Occupation
The user selects the Occupation by Left Clicking on the Drop Down List Box (
Example :
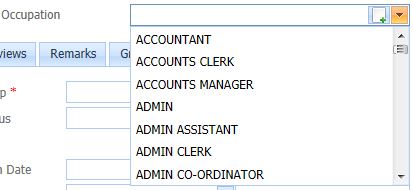
Select the applicable Occupation by Left Clicking on it in the list. Should the user want to enter a new Occupation it is done by Left Clicking on the Add Button (
|
Religion
The user selects the Religion by Left Clicking on the Drop Down List Box (
Example :
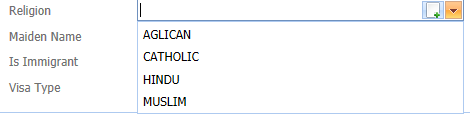
Select the applicable Religion by Left Clicking on it in the list. Should the user want to enter a new Religion it is done by Left Clicking on the Add Button (
|
Ethnic Group
The Ethnic Group is a Required field (
The user selects the Ethnic Group by Left Clicking on the Drop Down List Box (
Example :
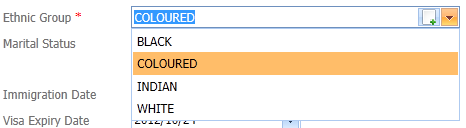
Select the applicable Ethnic Group by Left Clicking on it in the list. Should the user want to enter a new Ethnic Group it is done by Left Clicking on the Add Button (
|
Marital Status
The user selects the Marital Status by Left Clicking on the Drop Down List Box (
Example :
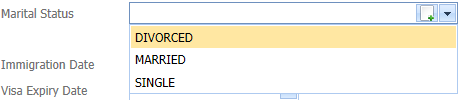
Select the applicable Marital Status by Left Clicking on it in the list. Should the user want to enter a new Marital Status it is done by Left Clicking on the Add Button (
|