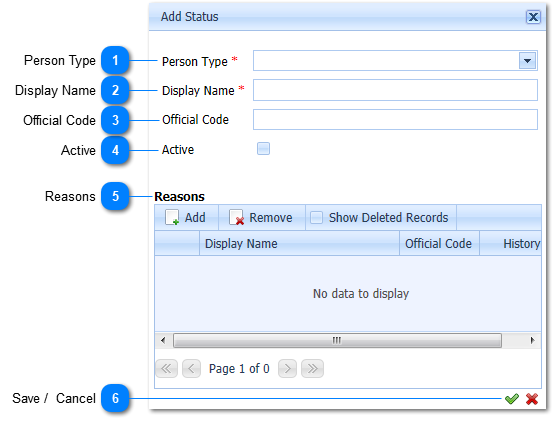
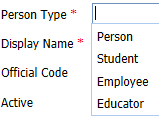
The Person Type is a Required field (). The user selects the Person Type by Left Clicking on the Drop Down List Box . When this is done a list of available Person Types will be displayed.
Example :
The user needs to select a Person Type. Should the user not enter a Person Type and attempts to Save () the information the system will give an indication () that this is compulsory information.
Select the applicable Person Type by Left Clicking on it in the list.
The Display Name is a Required field (). The user needs to enter a Description for the Person Type. Should the user not enter a Display Name and attempts to Save () the information the system will give an indication () that this is compulsory information.
The status of a person (Student/Educator/Eployee) is very important as the Active / Inactive status indicator is used to do calculate the number of days that a person (Student/Educator/Eployee) was at school. This day count needs to be accurate to be able to do accurate calculation for absenteeism etc. This indicator is also used to determine the number of students are currentlyenrolled in a school.
When all information has been entered the Person Status is saved by Left Clicking on the Save Button (). Should the user want to Cancel the Add Action, Left Click on the Cancel Button ().