
How to do a Bank File Import - OFX File Format
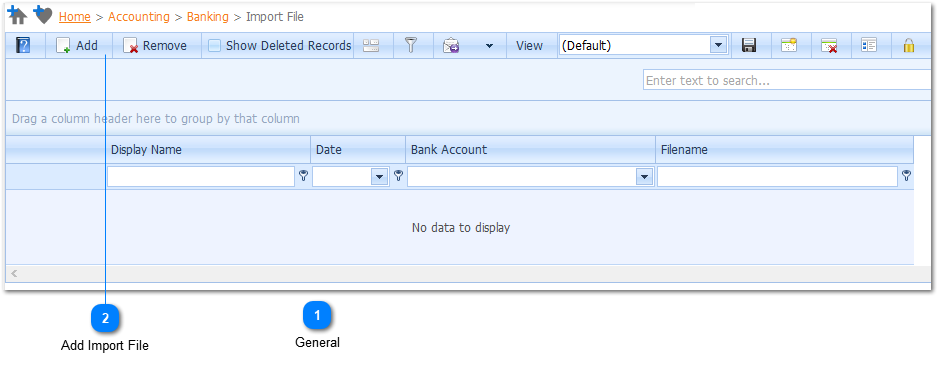
Add Import File
Steps
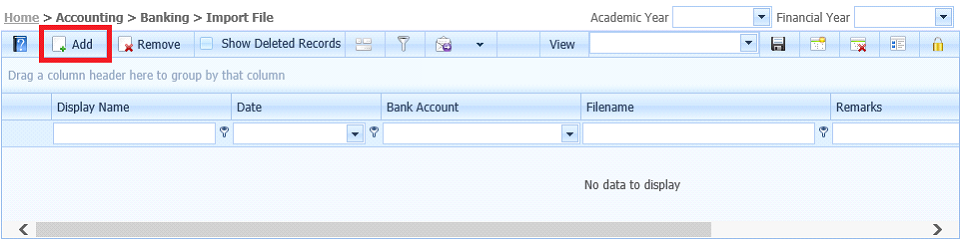
1. To start new import Select the Add Button.
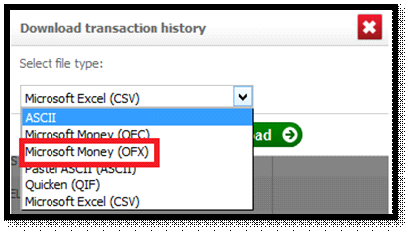
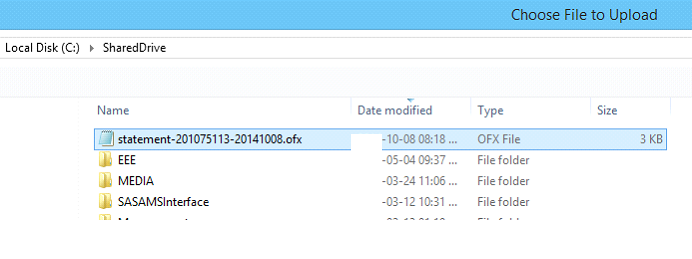
2. Complete the Required Fields. Select the Browse Button and navigate to where the bank file is located on your computer. Select the file and then Select the Open Button.
3. Select the Date Range for the transactions to be loaded. Select the Upload button. This will load all transaction from the file into the Data Grid ready for alterations and mapping.
4. Remove all unwanted transaction that are already captured in the system for example Receipt Deposits and Debit Order Transaction etc.
NB: Receipt Deposits need to be captured via the system and not the Bank Import. Debit Orders handled by the system also need to be removed.
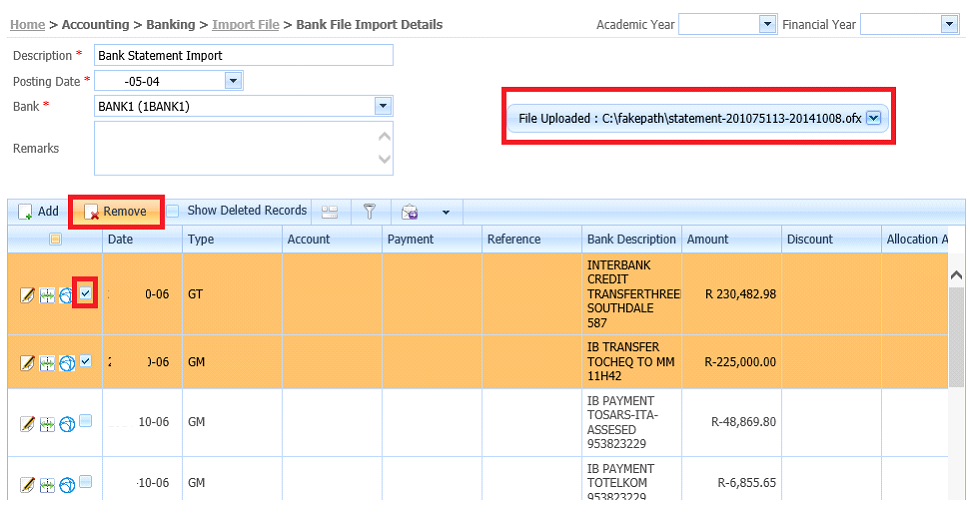
5. Records are Selected by Checking the Checkbox (
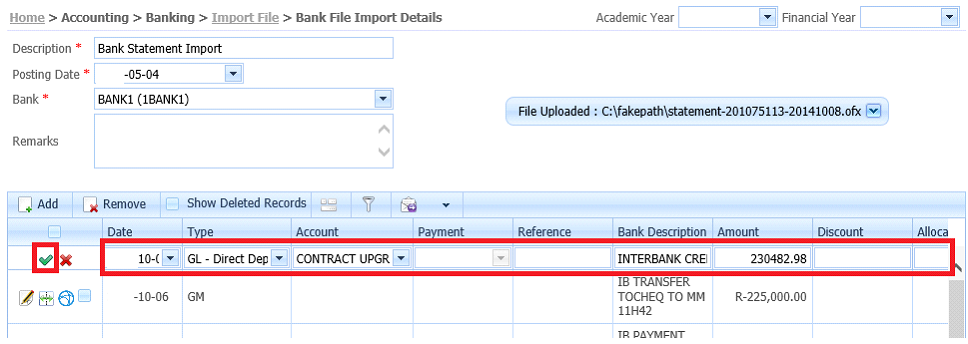
6. Map each transaction to an Account, Type and Description etc. These mappings are used by the system to identify where and what the transactions are for. Select the Edit Button (
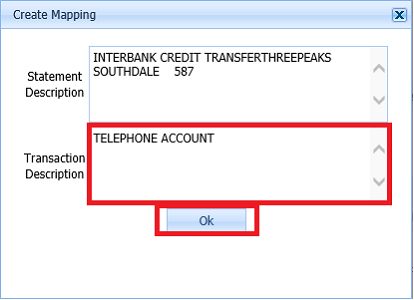
7. Mappings that occur every month can be saved to the database to save time for the next Bank Import. Saved Mappings will auto map the file on every Bank Import until it is deleted or changed. To save a mapping the record needs to be completed. Select the Mapping Button (
NB: The System uses the Statement Description (imported from Bank File) to locate the saved mapping. Transaction Description is used for the posting that occurs in the system. To Change and Update saved Mappings navigate to Home > Accounting > Banking > Mapping.
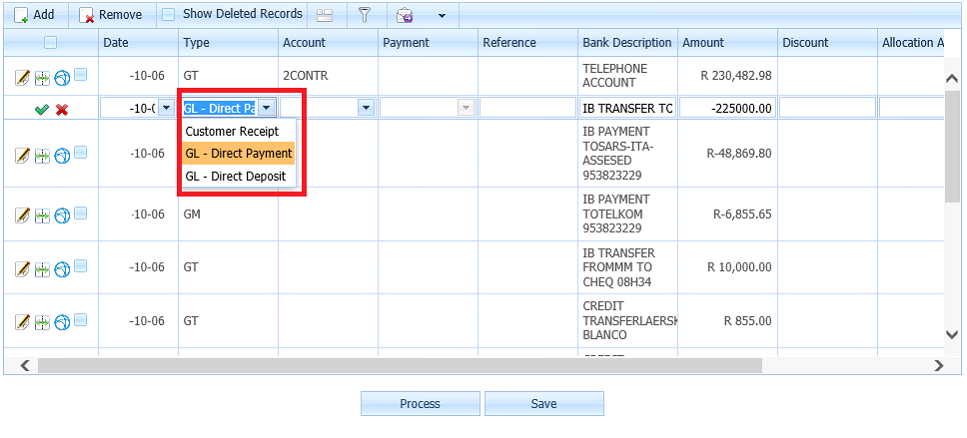
8. All transactions need to be mapped before the transaction processing can be done. Each Type will has its own required fields to be completed.
The following transaction types are supported:
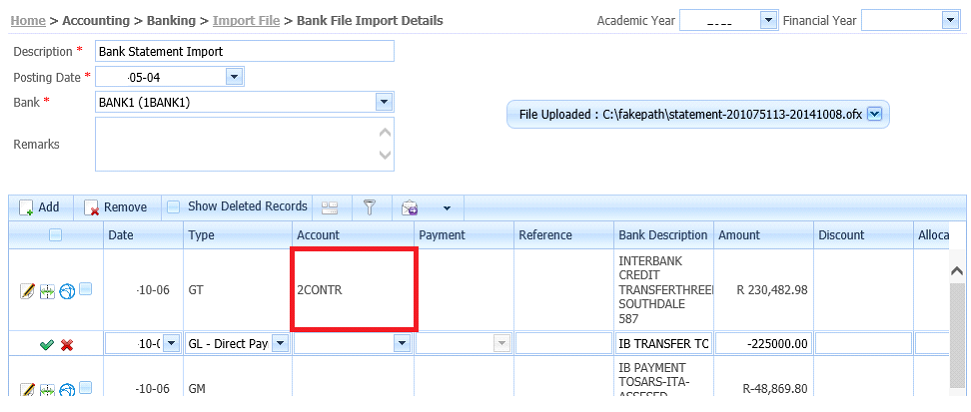
a) DR – Customer Receipt (All Customers, Parents paying money into the account via EFT etc.).
b) GM – Direct Payment (All Payments the school makes via EFT to Vendors, Customers, Telkom, Eskom etc.).
c) GT – Direct Deposit (All Deposits paid into the schools account for Example: Interest, Insurance, Department etc. This not for Customers/Parents depositing money into the bank this needs to be handled via the DR – Customer Receipt.
 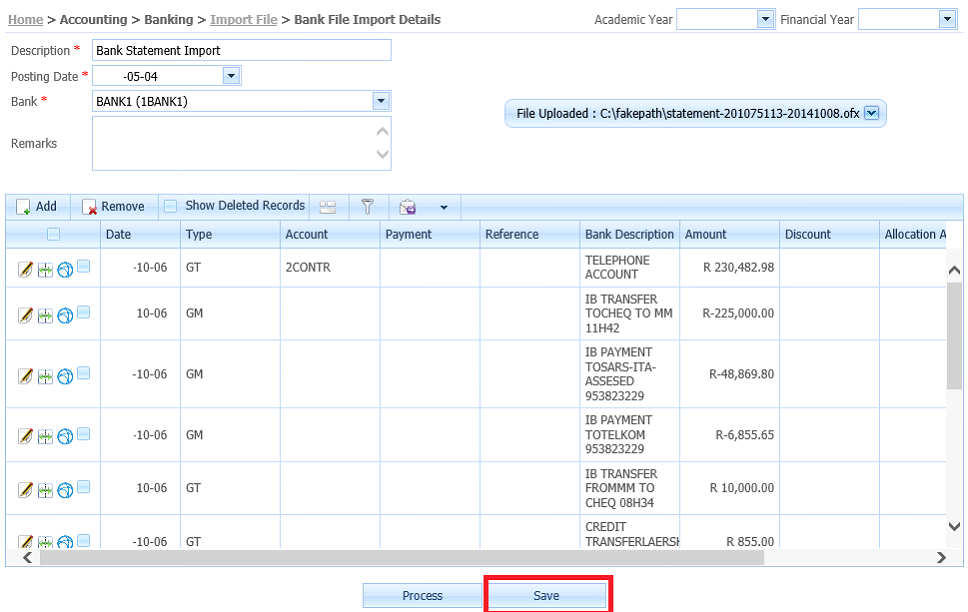
9. Save the Bank Import at any point to continue capturing at a later stage. Select the Save Button to save the bank import file to save the work that has been completed.
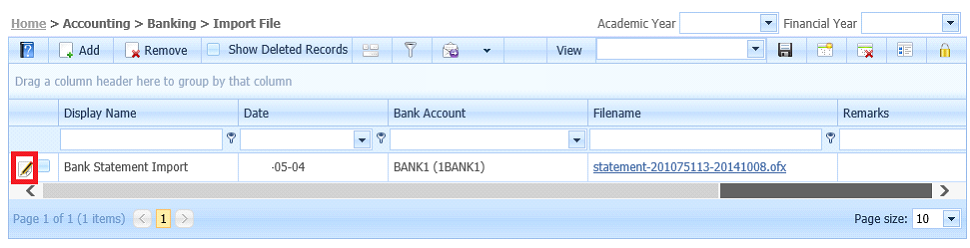
10. To Update a saved Bank Import navigate to Home > Accounting > Banking > Import File and Select the Edit Button (
NB: Updating is only allowed until the Bank Import has been processed.
11. Transactions that need to be split in the General ledger to different Accounts can be done by using the Split Button (
NB: The splitting of Transactions is process has to be completed on every Bank Import as the information is not saved.
 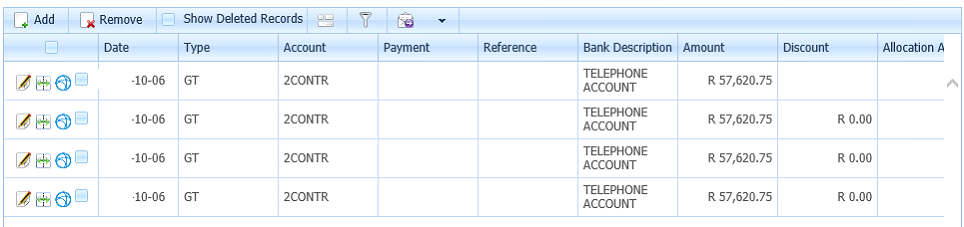 
12. Complete the Split Transaction form and indicate the number of lines required for the transaction. Select the Ok Button. Complete and Update the mapping on each split record.
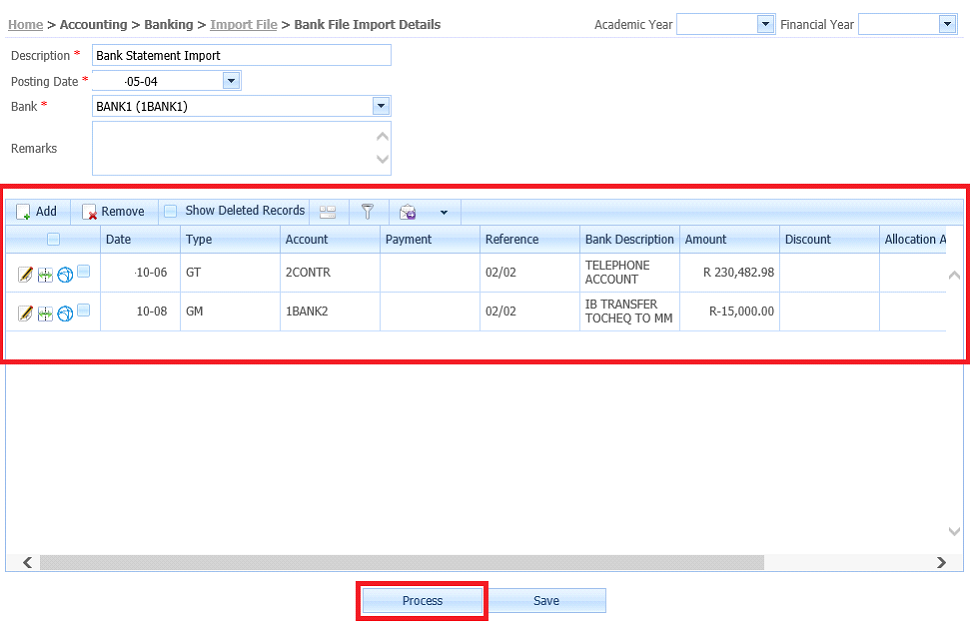
13. To Process the Bank file, Select the Process Button. Transactions will be processed to the General Ledger.
14. The Bank Reconciliation is now be completed by navigating to Home > Accounting > Banking > Reconciliation.
NB: Complete all mappings and check and verify that information is correct.
 |