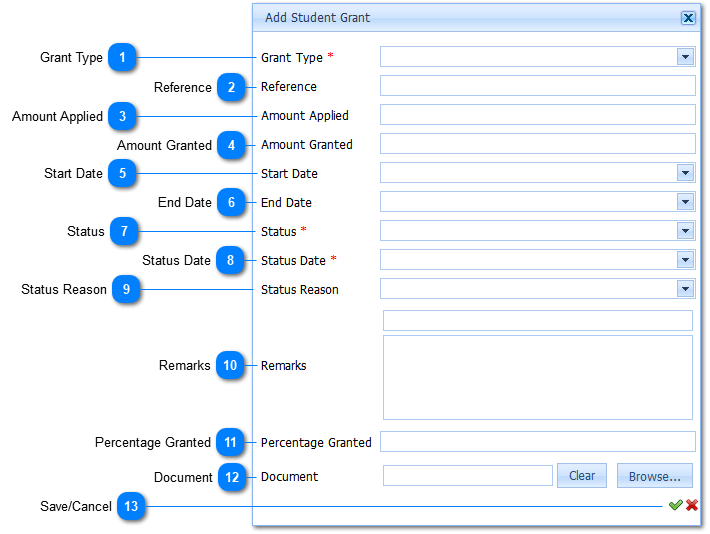
Select the Grant Type from the available list which is relevant to the Grant for the Learner.
Grant Types can be added and configured on the Grant Types screen - found under the Administration - Setup - Grant - Type Menu Option on the Main Menu.
Select the Grant Status from the available list which is relevant to the Grant for the Learner.
Grant Statuses can be added and configured on the Grant Status screen - found under the Administration - Setup - Grant - Status Menu Option on the Main Menu.
Select the Grant Status Reason from the available list which is relevant to the Grant for the Learner.
Grant Status Reasons can be added and configured on the Grant Reason screen - found under the Administration - Setup - Grant - Reason Menu Option on the Main Menu.
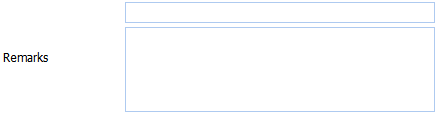
Enter Remarks pertaining to this Grant in the first text-input box. The Remark will be added to the bottom text-box, user who entered the remark as well the date added - as text.
Additional Remarks can be added by entering text into the first text-input box, and will be added to the bottom text-box when the Add Grant window is saved (see 13).
External Documents may be imported pertaining to the Grant.
By single-clicking the button, your web browser will display a "File Upload" dialogue for selecting a document from your personal device that will be uploaded and stored digitally on this Grant entry once the Save Button () has been Left-Clicked.
The selected document's name will be visible in the text box indicating it has been uploaded and is ready to be added to the Grant record.
By Left-Clicking the Clear Button, the document will be released and not uploaded to the Grant record.
When all information has been entered the Grant is saved by Left Clicking on the Save Button (). Should the user want to Cancel the Add Action, Left Click on the Cancel Button ().