Payment Request - Send Secure Payment Requests to Customers

How to Create Payment Requests
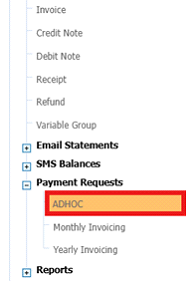
Navigate to:
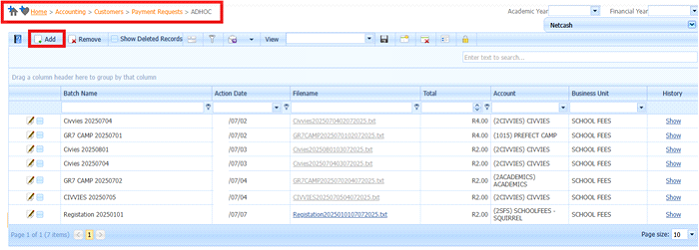
Home > Accounting > Customers > Payment Requests > ADHOC
Steps:
a) Click the Add/Edit button.
b) Select Netcash Service Key.
c) Enter Batch Name. This is unique and can only be used once.
d) Enter Description. This is a short description that is prefixed to the Student Details.
e) Select Business Unit.
f) Select Account.
g) Select Action Date.
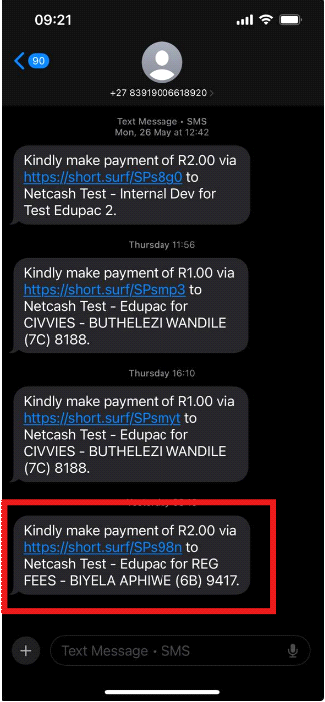
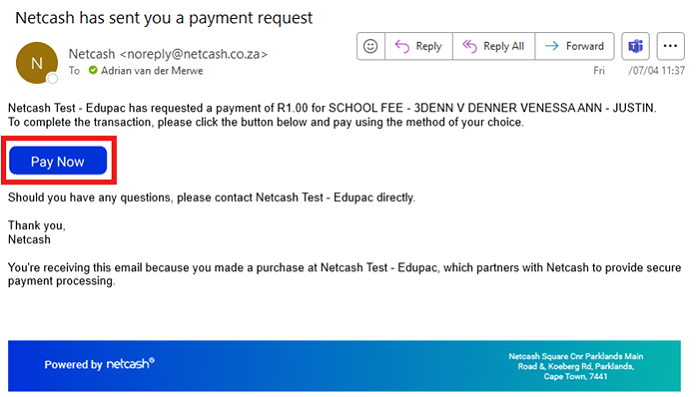
h) Select Send Method (Email or SMS).
i) Enter Amount.
j) Select the Invoiced checkbox to instruct the system to generate the appropriate financial transaction:
· GR – Other Receipt for general receipts.
· DR – Customer Receipt for customer-specific receipts.
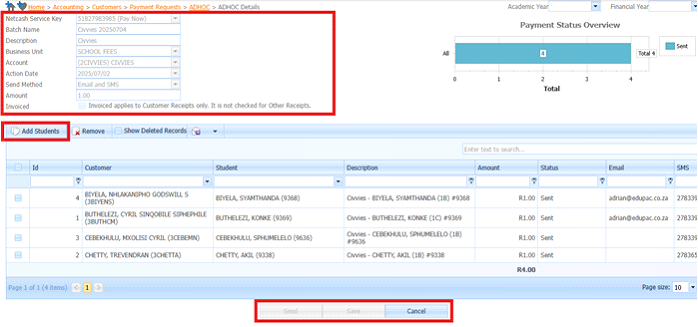
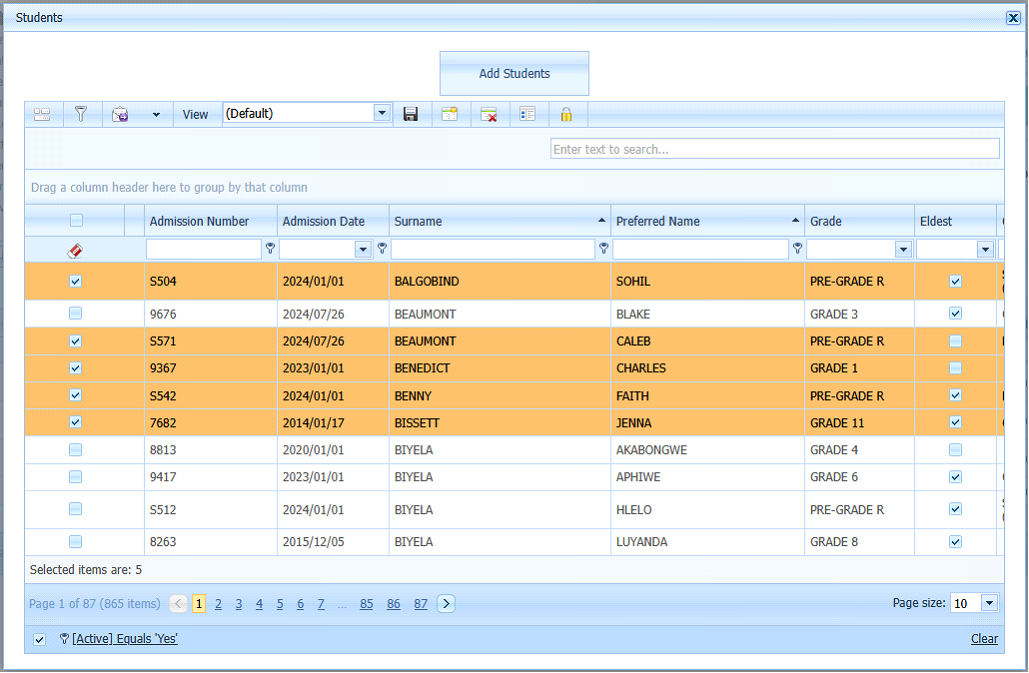
k) Click the Add Students button.
l) Use filters to fine tune the selection.
m) Select the Students.
n) Click the Add Students. This Allocates the Students to the Payment Request.
o) Click the Save button. This allows the system to save the details if the request is not ready to be sent.
p) Click the Send button. This is used to send the Request to Netcash for Processing.
|