Add Account

|
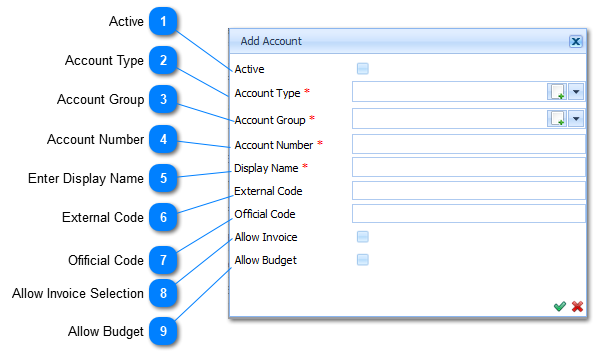
Select the applicable Account Type that this Account belongs to by Left Clicking on it in the Drop Down List Box (
Should the user want to enter a New Account Type, it is done by Left Clicking on the Add Button (
Refer to Understanding Accounts, Account Groups, Account Types and Account Categories for more detail of Account Types.
The Account Type is a Required field (
|
|
Select the Account Group that this Account belongs to.
Refer to Understanding Accounts, Account Groups, Account Types and Account Categories for more detail of Account Groups.
The user selects the Account Group by Left Clicking on the Drop Down List Box (
Select the applicable Account Group by Left Clicking on it in the list. Should the user want to enter a New Account Group, it is done by Left Clicking on the Add Button (
|
|
This Check Box MUST be ticked to allow this Account to be dispalyed in the list of Accounts on the Budget input screen! (Refer to Budgets for budgeting process).
Should the user want to Budget against this Account, Left Click the Allow Invoice Check Box. When this is done the Check Box will display a Check mark (
|
