
Receipt
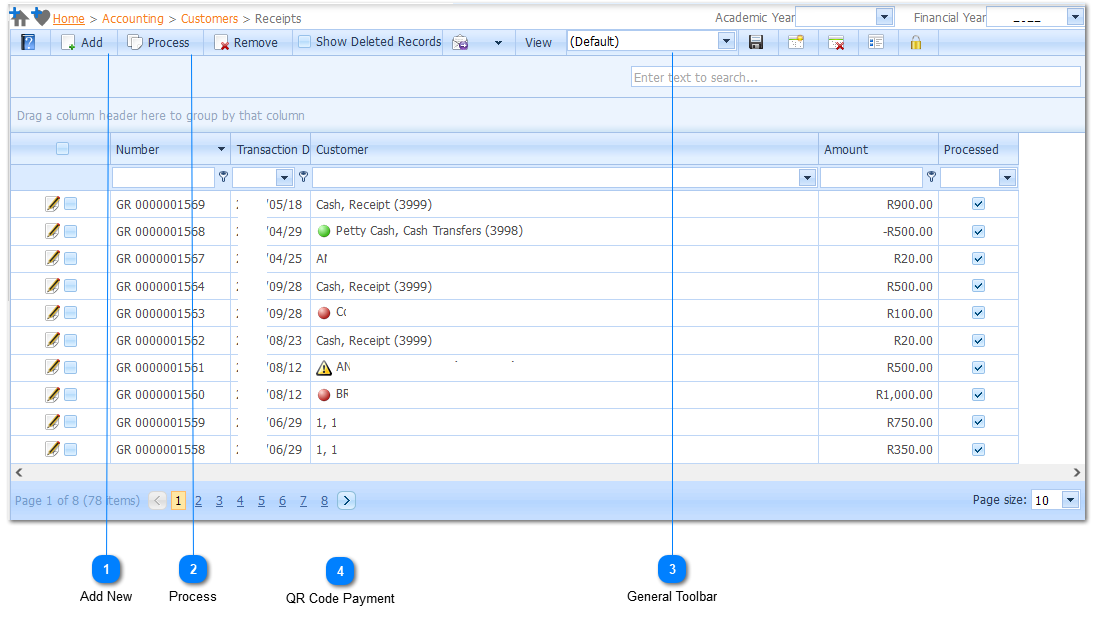
Add New
Refer To Add Receipt
|
Process
Refer to Process Batch
|
QR Code Payment
QR Code – URL Setup
URL Setup must be done by one of the Edupac Developers. Below is an explanation of what the School needs to do.
Steps
· The School needs to register with Zapper/SnapScan or any other similar Mobile Payment Method.
· After Registration is completed, the School will receive a “MerchantId”, “RegisteredName” and possibly a “SiteId”.
· Once Received the information supplied by the Mobile Payment Method must be forwarded to helpdesk@edupac.co.za
· An Edupac Developer will use this information to construct the URL string.
Printing the QR Code
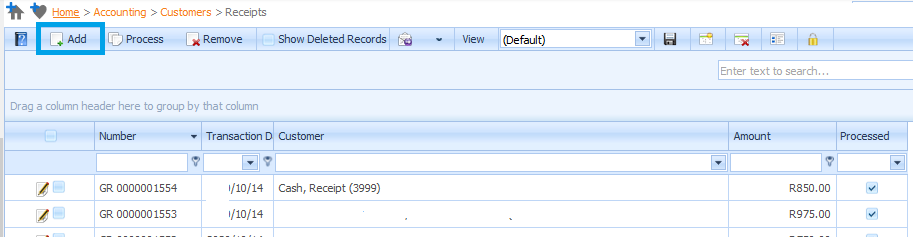
After the URL has been setup by Edupac, QR Codes can be printed from the Customer Receipting Menu.
Home> Accounting > Customers > Receipts
Steps
· Click the Add Button.
· Select the Customer.
· Select the Mobile Payment Method. Eg. Zapper/SnapScan.
· Select the Bank Account.
· Enter the Transaction Amount.
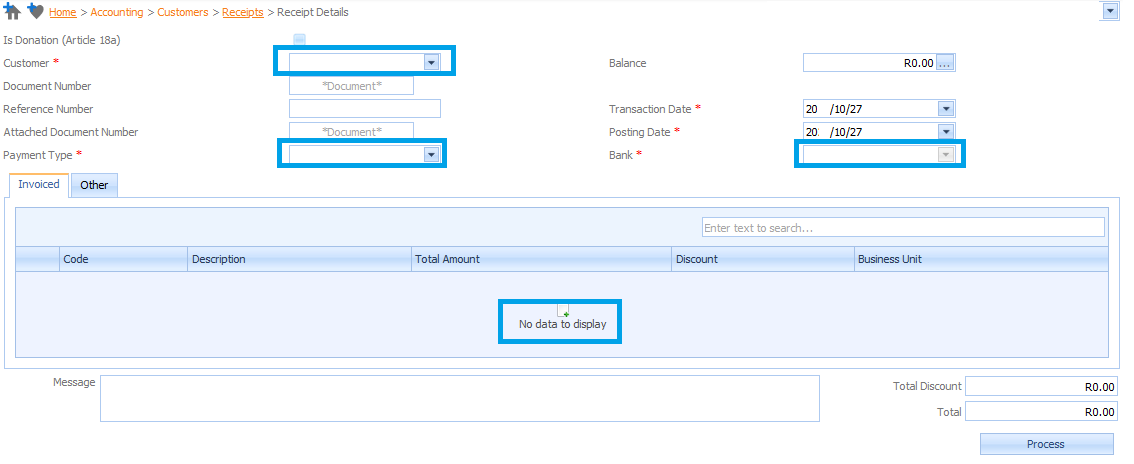
· If a Payment Type, which is selected, requires a QR Code that a “QR Code” button will be displayed.
· All Transactions in the grid need to be saved to Enable the QR Code Button.
· The QR Code must be printed before the Receipt can be processed.

· After all Transactions in the grid have been saved, the QR Code Button will be Enabled.
· The QR Code can now be printed by selecting the QR Code Button.
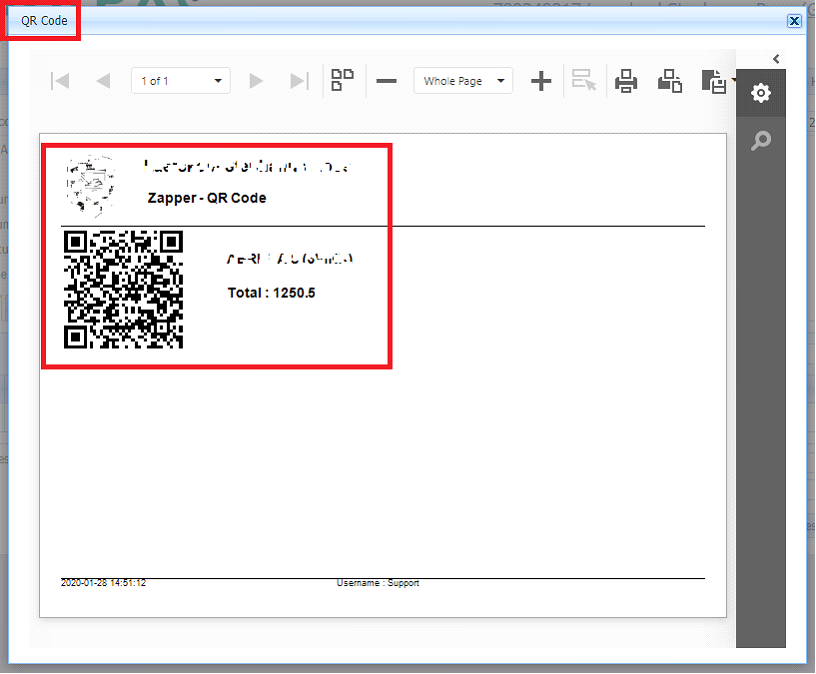
· The Parent/Guardian can now scan the QR Code from their selected Mobile Payment Method and complete the transaction.
· Once the School has Received Confirmation of Payment, the QR Code popup can be closed.
· The Process button will be Enabled for the School to complete the Transaction
|