
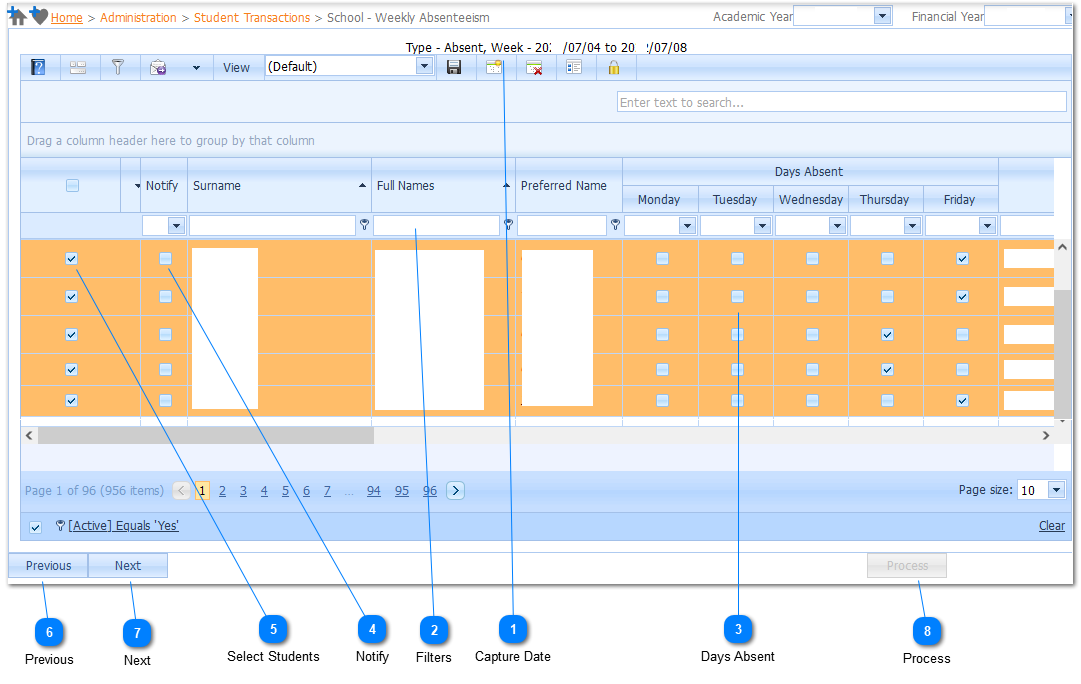
Weekly Absenteeism Capturing Page

Notify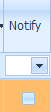
Should the students Guardians be notified of the absenteeism, Left Click on the Notify Check Box. When this is done the students Guardians will receive notification of the absenteeism via Email or SMS, depending on the Preferred method of communication that was selected on the Guardian Profile, Notifications tab. (Refer to Emails, Contacts - Guardian Profile Page)
For the Guardians be notified of the Absenteeism the Absenteeism Check Box (Subscribed Notifications) on the Guardian Profile, Notifications tab needs to be Checked.
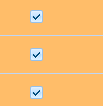
Should the students Guardians be notified of the absenteeism the user does not need to Left Click both the Select Student and Notify Check Boxes. The user only needs to Left Click on the Notify Check Box. When this is done the Select Student Check Box will automatically be checked.
|
Next
Should the user not select any Notifications to be done, thus just wanting to register the absenteeism for the students, Left Click on the Next Button (
Should the user have selected Notifications to be done, Left Click on the Next Button (
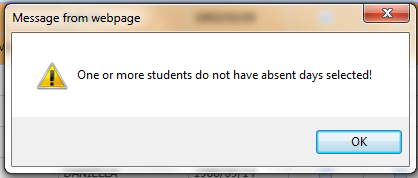
Should the user have selected a student by Left Clicking on the Select Students Check Box but no absent days were selected the following system Error will be displayed:
 |
Process
Refer to Weekly Absenteeism Capturing Page .
|